
Step-by-Step Guide to Creating Your First Web3 dApp with React.js and Wagmi
In recent years, there has been a surge of interest in Web3 development, driven by the promise of decentralized technologies and their potential to disrupt various industries. Decentralized applications (dApps) are a key part of this movement, offering a new paradigm for building applications that are resistant to censorship, tampering, and downtime. However, developing a dApp can be a daunting task, especially for beginners.
That's where this article comes in - it provides a step-by-step guide for creating your first dApp using two popular Web3 tools: React.js and Wagmi. By the end of this article, you will have the foundational knowledge to start building your own dApps and contributing to the exciting world of Web3 development.
The first thing we need to do is create our react app. We will be using typescript for the purpose of this app, but you can use plain js if you want.
To do this just open your terminal in your preferred folder, and type this command.
npx create-react-app web3-dapp --template typescript
Next, we'll open the created folder in our terminal and install the required dependencies. For this app, we will need just 2: Wagmi and ethers.
ethers is javascript library that allows us to interact easily with Web3 Blockchains.
On the other hand, Wagmi is a library of react hooks that make easier to interact with Blockchains in a reactive way. It uses the ethers library under the hood. This way, we don't have to deal with ethers first hand.
We can install them by typing this command into the terminal
npm i wagmi ethers@^5
Next up, we will configure our Wagmi client. We're gonna create a separate wrapper component to contain all of the Wagmi client logic.
In our src folder, we are gonna create a typescript file called WagmiWrapper and add the following code:
// src/WagmiWrapper.tsx
import { ReactNode } from 'react'
import { WagmiConfig, createClient, configureChains } from 'wagmi'
import { mainnet, goerli, polygon } from "wagmi/chains"
import { publicProvider } from 'wagmi/providers/public'

// 1- select the chains we want to support
const supportedChains = [mainnet, goerli, polygon]

// 2- create the configuration
const { provider } = configureChains(
    [...supportedChains],
    [publicProvider()],
)

// 3- create a wagmi client instance
const client = createClient({
    autoConnect: true,
    provider,
})

type Props = {
    children: ReactNode
}

export default function WagmiWrapper({ children }: Props) {
    return (
        <WagmiConfig client={client}>
            {children}
        </WagmiConfig>
    )
}
Let's go through this code block by block.
-
We select the chains that we want to support by importing them from
wagmi/chains. By default, Wagmi supports 50+ EVM compatible chains. here we selected the Ethereum mainnet, Ethereum goerli, and Polygon. -
We create the client configuration. It takes in 3 arguments:
- Supported chains (that we selected earlier)
- List of providers. here we are using the public provider, but we can add more. By default, wagmi offers 3 provider configurations: public, Infura, and Alchemy. or you can create your own custom
jsonRpcprovider. We will go in details on how to add other providers in a following article. - List of websocket providers. (optional)
-
We create the client instance. It takes in a bunch of arguments that you can check here, but we are only interested in two for the purpose of our applications:
- autoConnect, which makes the client connect back automatically in the same session if you refresh the website.
- The provider that we configured earlier.
At this stage, we have successfully created our wagmi client configuration. we just need to encapsulate it in a react component and that's it.
Next, we'll wrap our app with the WagmiWrapper we just created.
We can do that in our App file
// src/app.tsx
import './App.css';
import WagmiWrapper from './WagmiWrapper';

export default function App() {
  return (
    <WagmiWrapper>
      <div className="App">
        // the rest of our app
      </div>
    </WagmiWrapper>
  );
}
Now that we have setup our Wagmi client, we can use the library's hooks to interact with any Blockchains.
Let's create a simple example to demonstrate how we can use the wagmi hooks.
In a separate component, we'll write the logic to connect to a wallet and display it's address or ENS name.
// src/Profile.tsx
import { useAccount, useConnect, useEnsName } from 'wagmi'
import { InjectedConnector } from 'wagmi/connectors/injected'

export default function Profile() {
    const { address, isConnected } = useAccount()
    const { data: ensName } = useEnsName({ address })
    const { connect } = useConnect({
        connector: new InjectedConnector(),
    })

    if (isConnected) return <div>Connected to {ensName ?? address}</div>
    return <button onClick={() => connect()}>Connect Wallet</button>
}
Here we are using 3 hooks from wagmi:
- useAccount to check if we are connected and what is the address of the connected wallet.
- useEnsName to resolve the wallet's ENS name (if it exists).
- useConnect to connect our app to the wallet.
You can check out the library of hooks that wagmi supports from their official website
The last step is to import and use the component we created in the App
import './App.css';
import Profile from './Profile';
import WagmiWrapper from './WagmiWrapper';

export default function App() {
  return (
    <WagmiWrapper>
      <div className="App">
        <Profile />
      </div>
    </WagmiWrapper>
  );
}
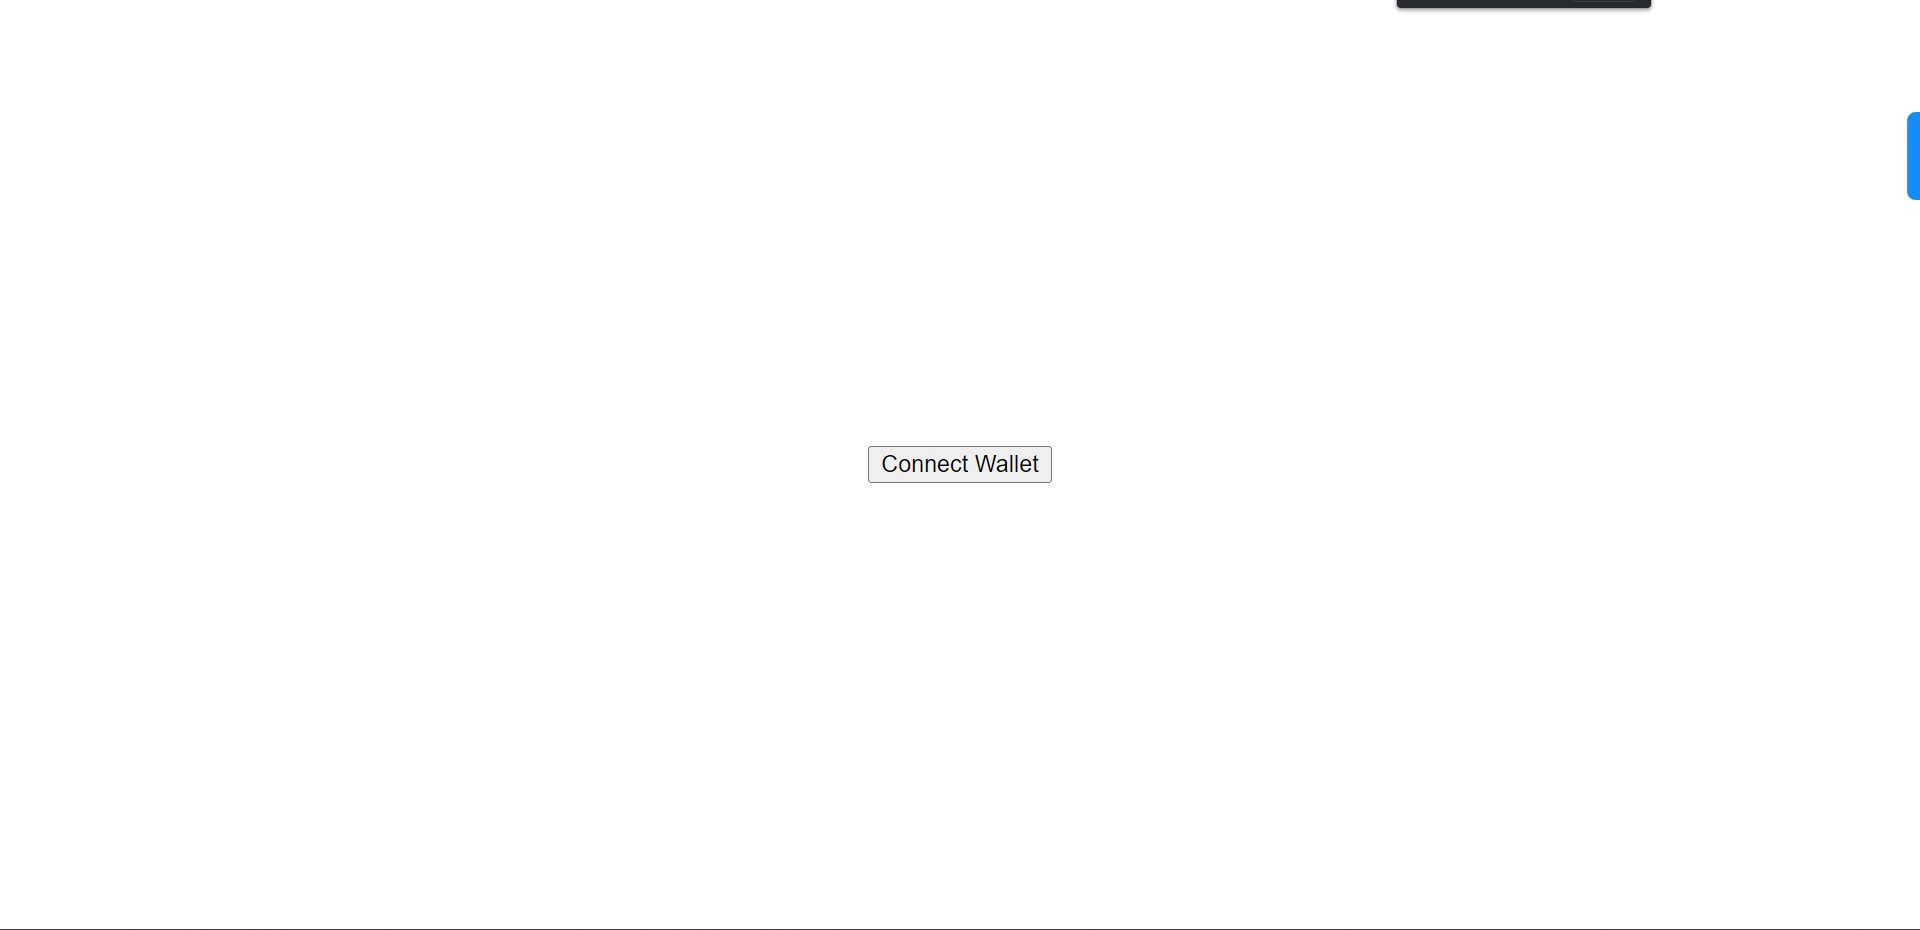
In order to test the app, you must have a wallet installed in your browser like MetaMask or CoinBase wallet.
Here is how the final app looks:
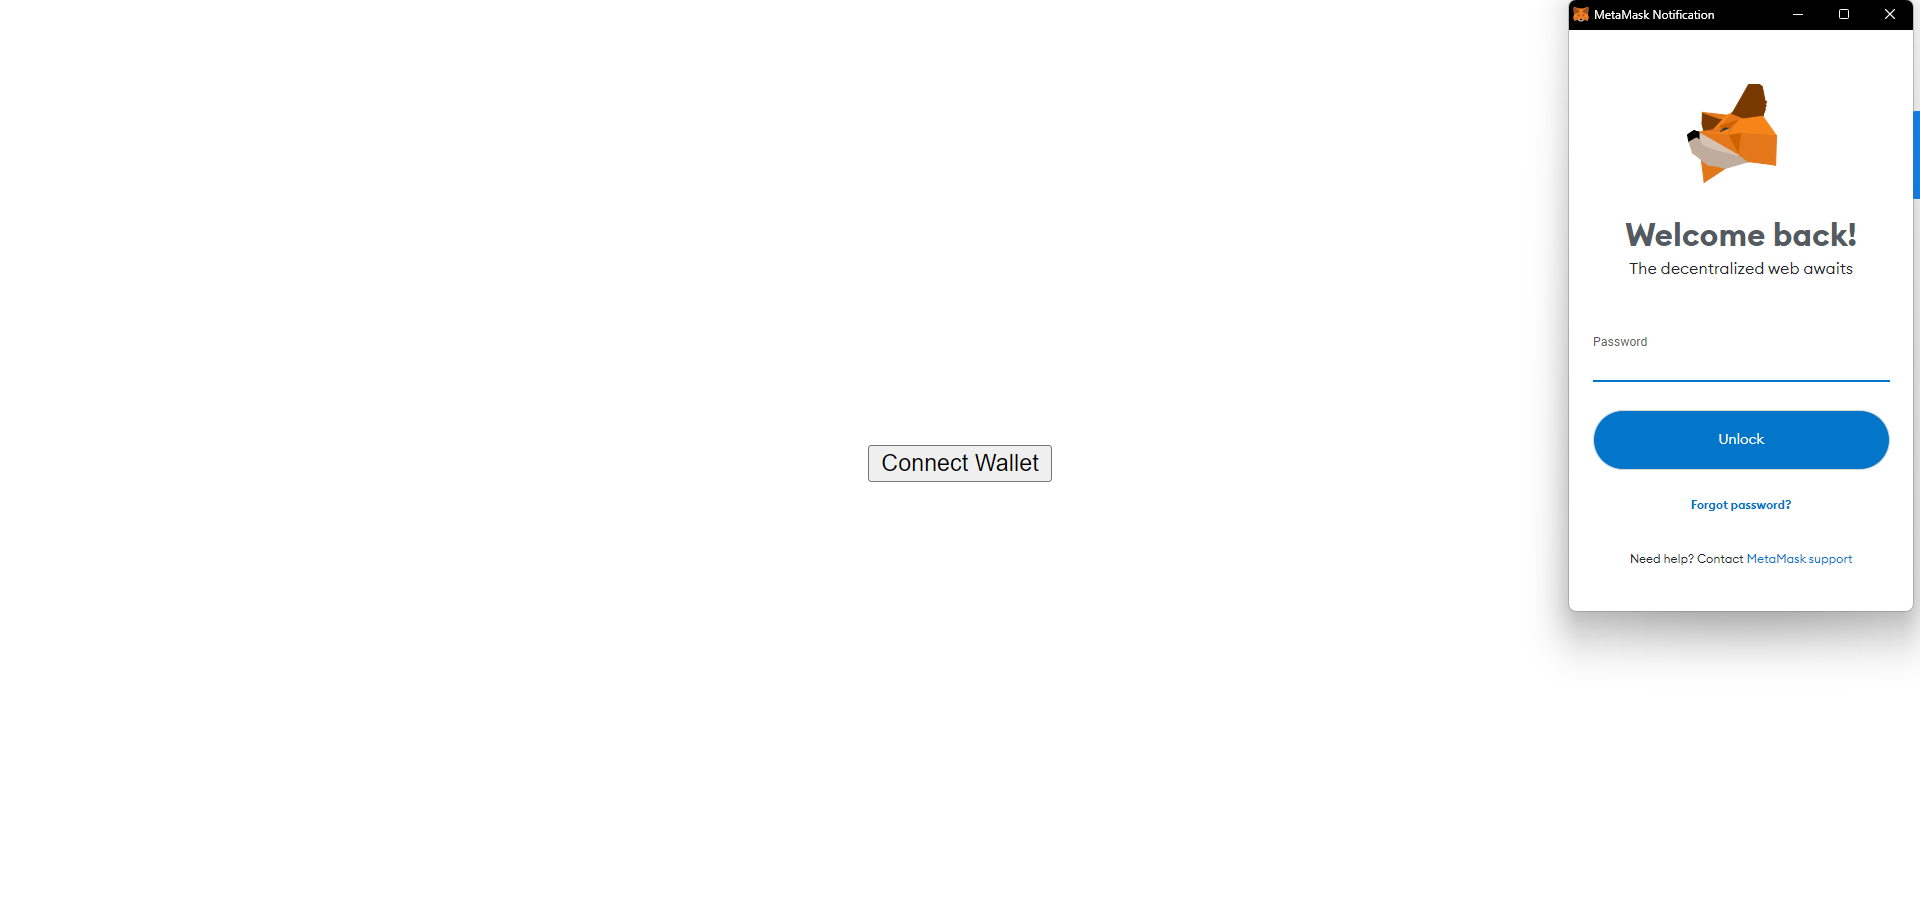
Here I'm using a MetaMask wallet. Once I click connect, I'll be prompted to login:
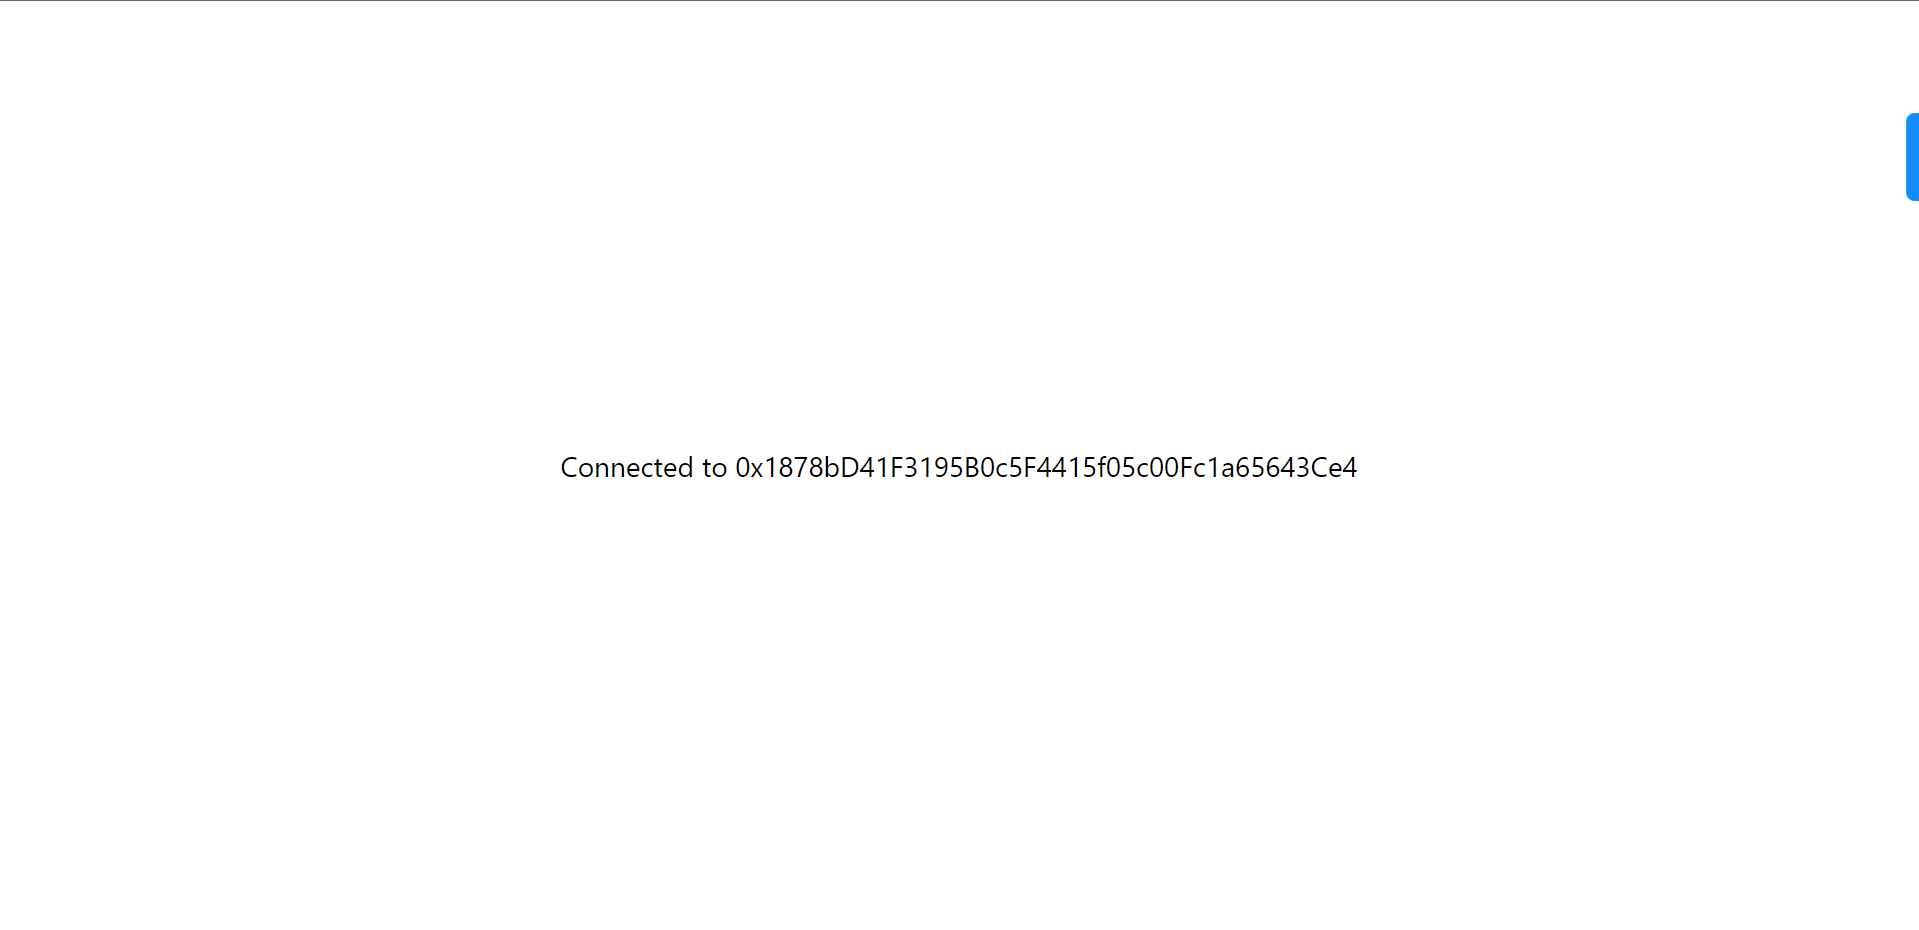
After logging in, the app displays my wallet address:
Wrapping Up
You have now successfully created your first dApp. You can use the other Wagmi hooks to grow your app and add more features to it. You can find the source code for this project here